> ## Documentation Index
> Fetch the complete documentation index at: https://docs.reducto.ai/llms.txt
> Use this file to discover all available pages before exploring further.
# Studio Quickstart
> Build and deploy your first document workflow in Reducto Studio.
[Studio](https://studio.reducto.ai/) is Reducto's visual interface. Build document workflows by configuring classification, parsing, extraction, and editing steps, test on real documents with the citation viewer, then deploy as a Pipeline ID callable from code. Studio also manages API keys, account settings, and team access.
If you just want an API Key, visit your [account's API Keys page](https://studio.reducto.ai/api-keys) to create and manage your keys. Follow our [API quickstart here](https://docs.reducto.ai/quickstart).
[Classify](/classify/overview) is available via the [API](/api-reference/classify) but is not yet integrated into Studio. You can try it interactively at [classify.reducto.ai](https://classify.reducto.ai).
This guide walks you through your first structured extraction from a document of your choice.
***
## 1. Visit Studio
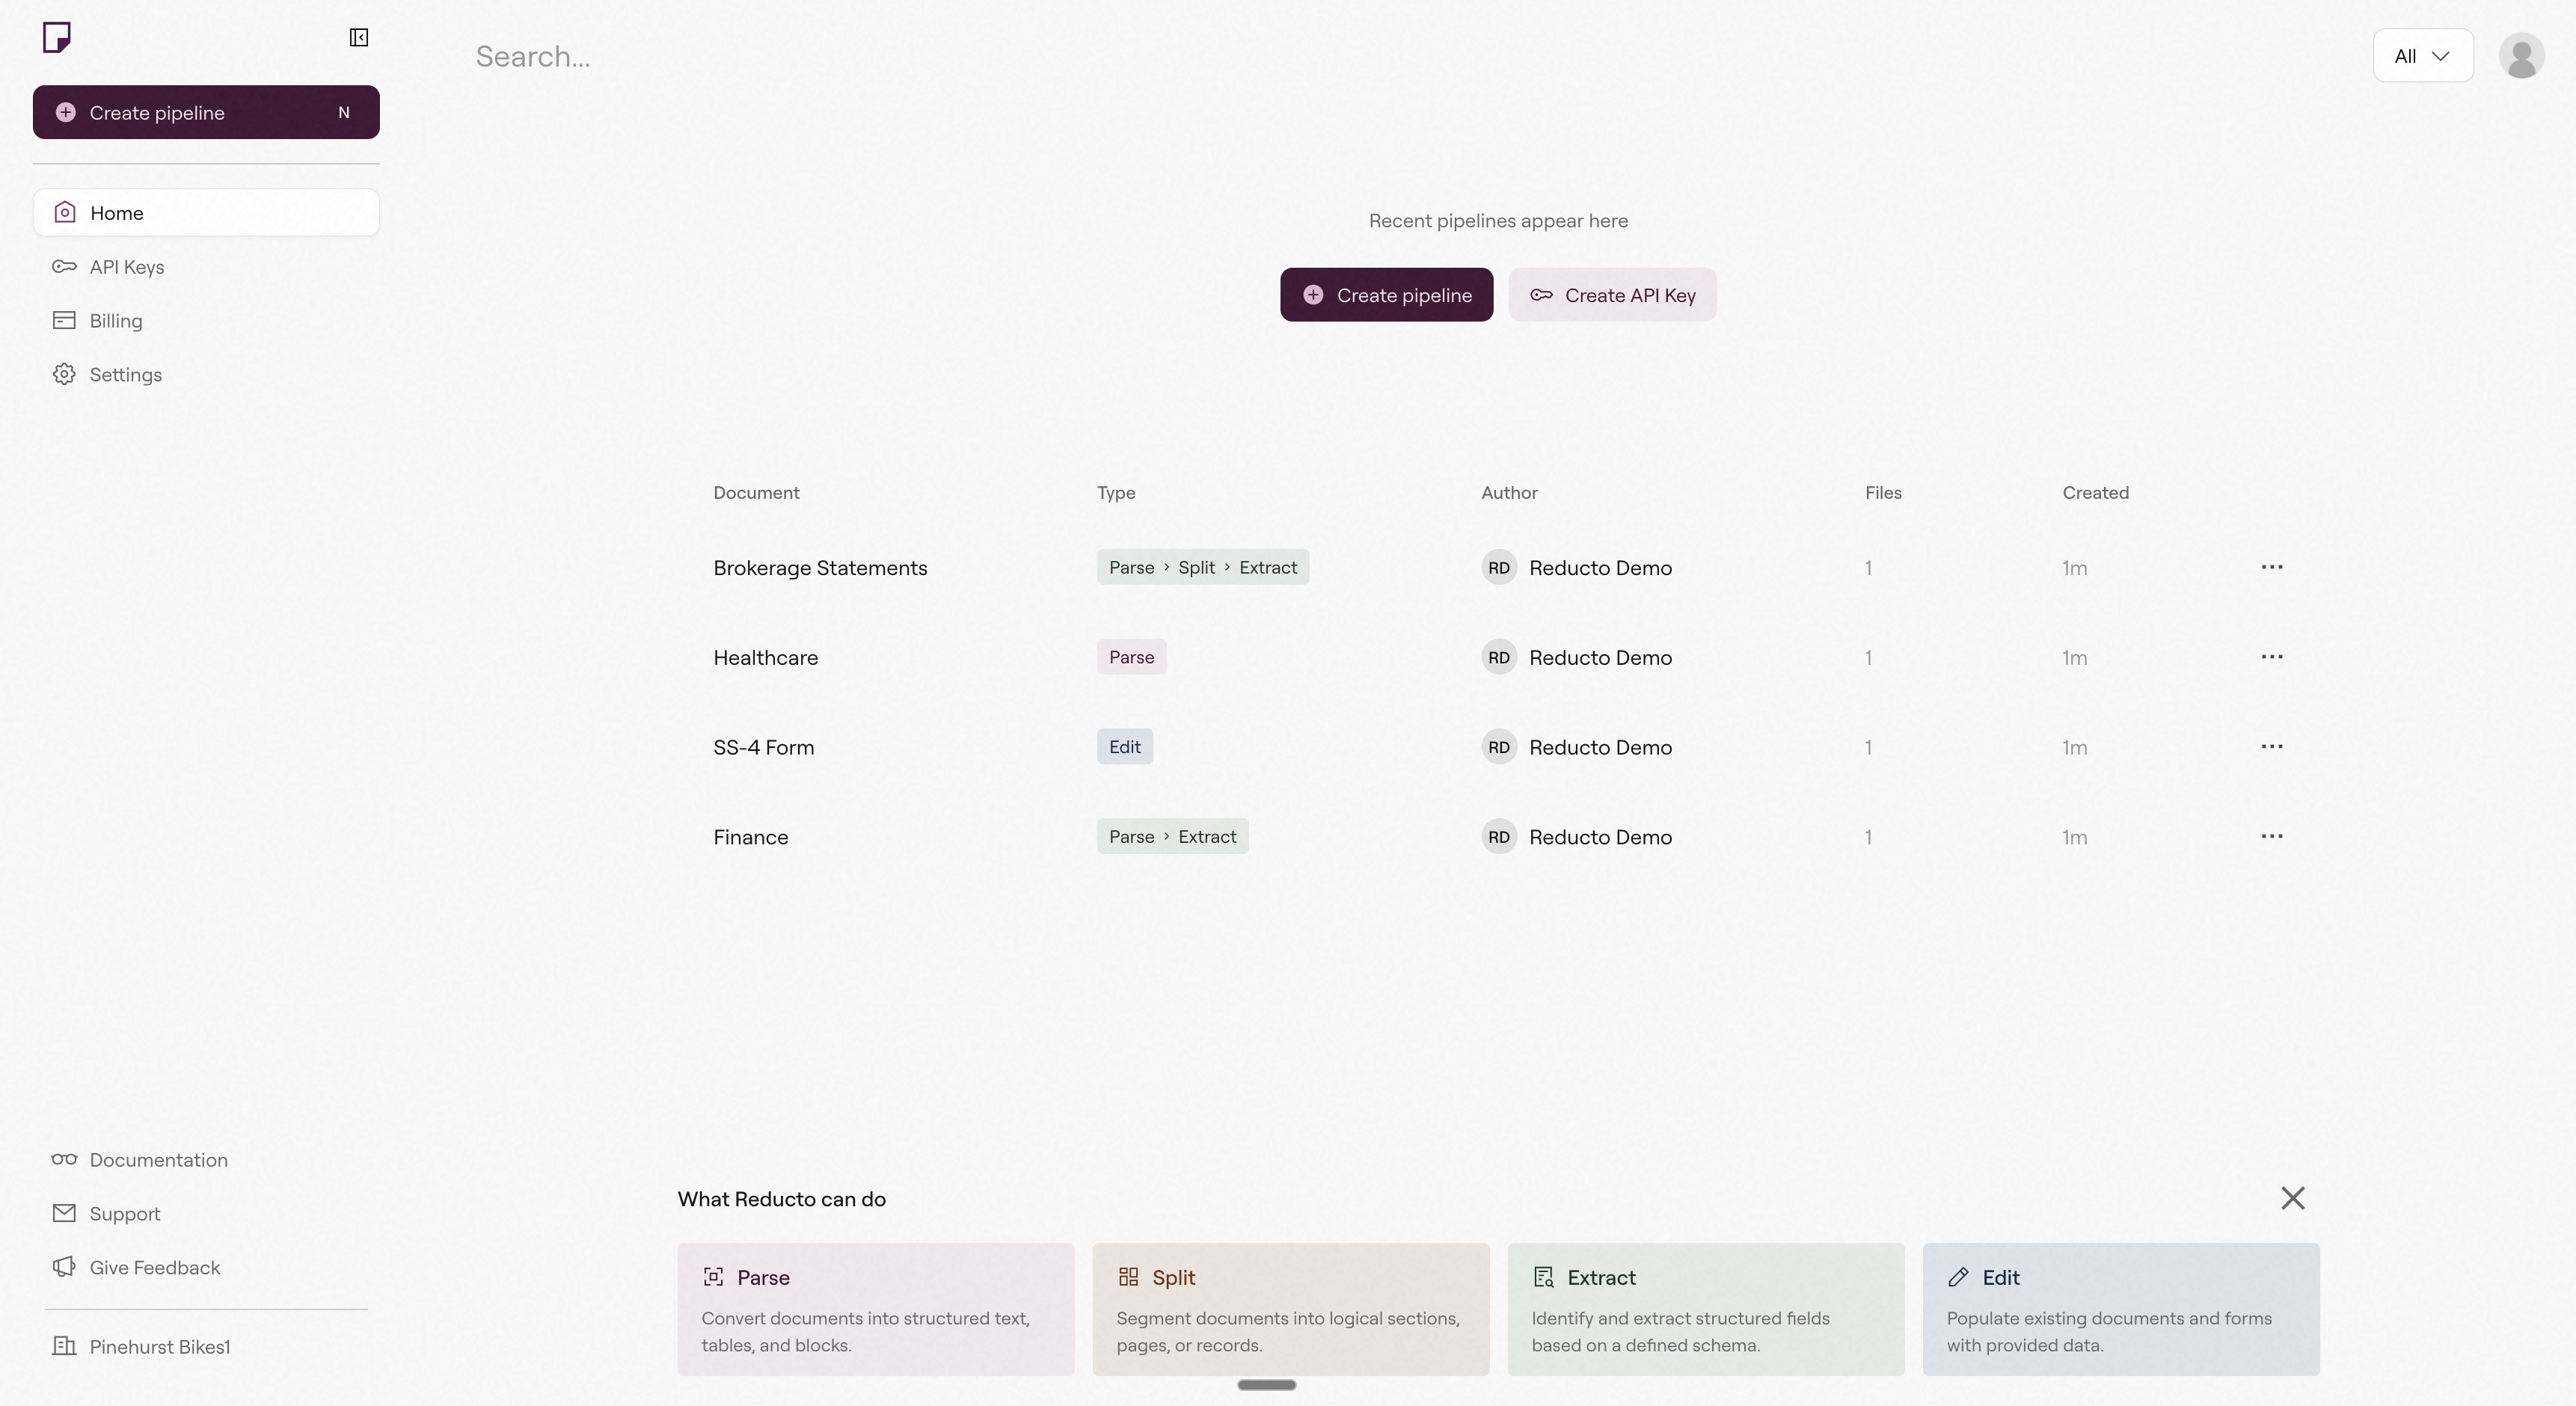
Sign-up or log-in at [studio.reducto.ai](https://studio.reducto.ai/). If you're the first to sign-up from your organization, you'll be asked to create and set a name for the organization.
You should then land in Studio, where you can explore demo pipelines or create your own.
 ## 2. Create an Extract Pipeline
The goal here is to upload a document and see the structured output Reducto produces. Extract reads your document, and extracts the data you want in a schema shape you define.
Click **Create pipeline**, and select **Extract**.
## 2. Create an Extract Pipeline
The goal here is to upload a document and see the structured output Reducto produces. Extract reads your document, and extracts the data you want in a schema shape you define.
Click **Create pipeline**, and select **Extract**.
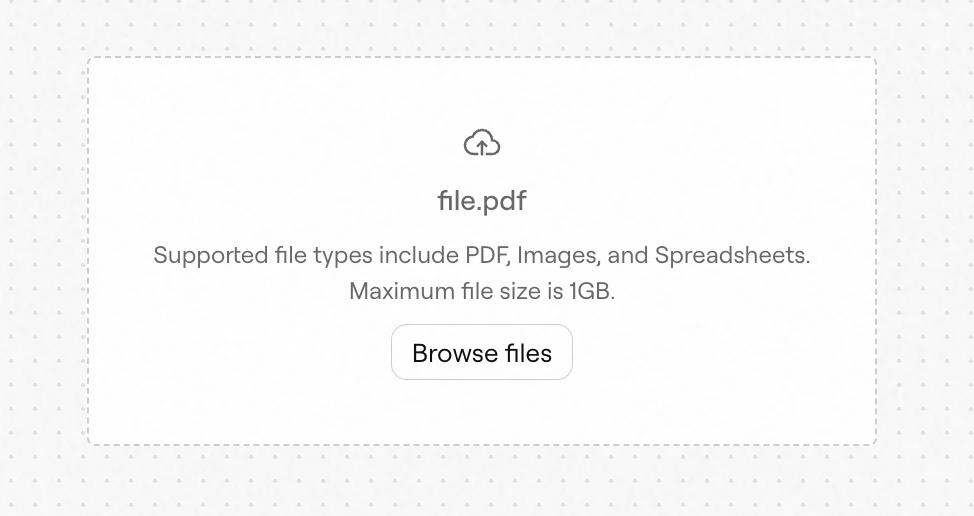
 Drag and drop a file or upload directly.
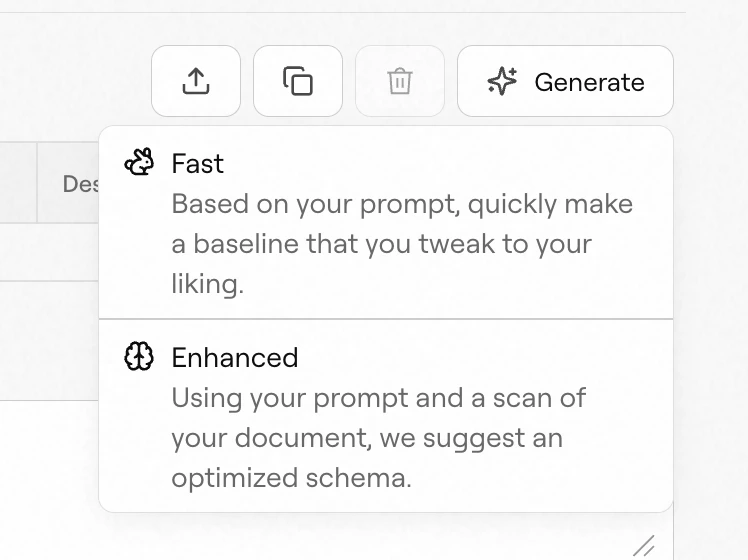
 Hit **Generate** and then choose between **Fast** and **Enhanced** mode. You can use natural language to describe what type of data you want to extract from your document.
Reducto will automatically create a well formed schema for you. Alternatively, you can manually configure your schema by building one in the schema builder directly.
Hit **Generate** and then choose between **Fast** and **Enhanced** mode. You can use natural language to describe what type of data you want to extract from your document.
Reducto will automatically create a well formed schema for you. Alternatively, you can manually configure your schema by building one in the schema builder directly.
 Hit **Run**. Once the pipeline is done, the **Results** tab will contain the Extract results.
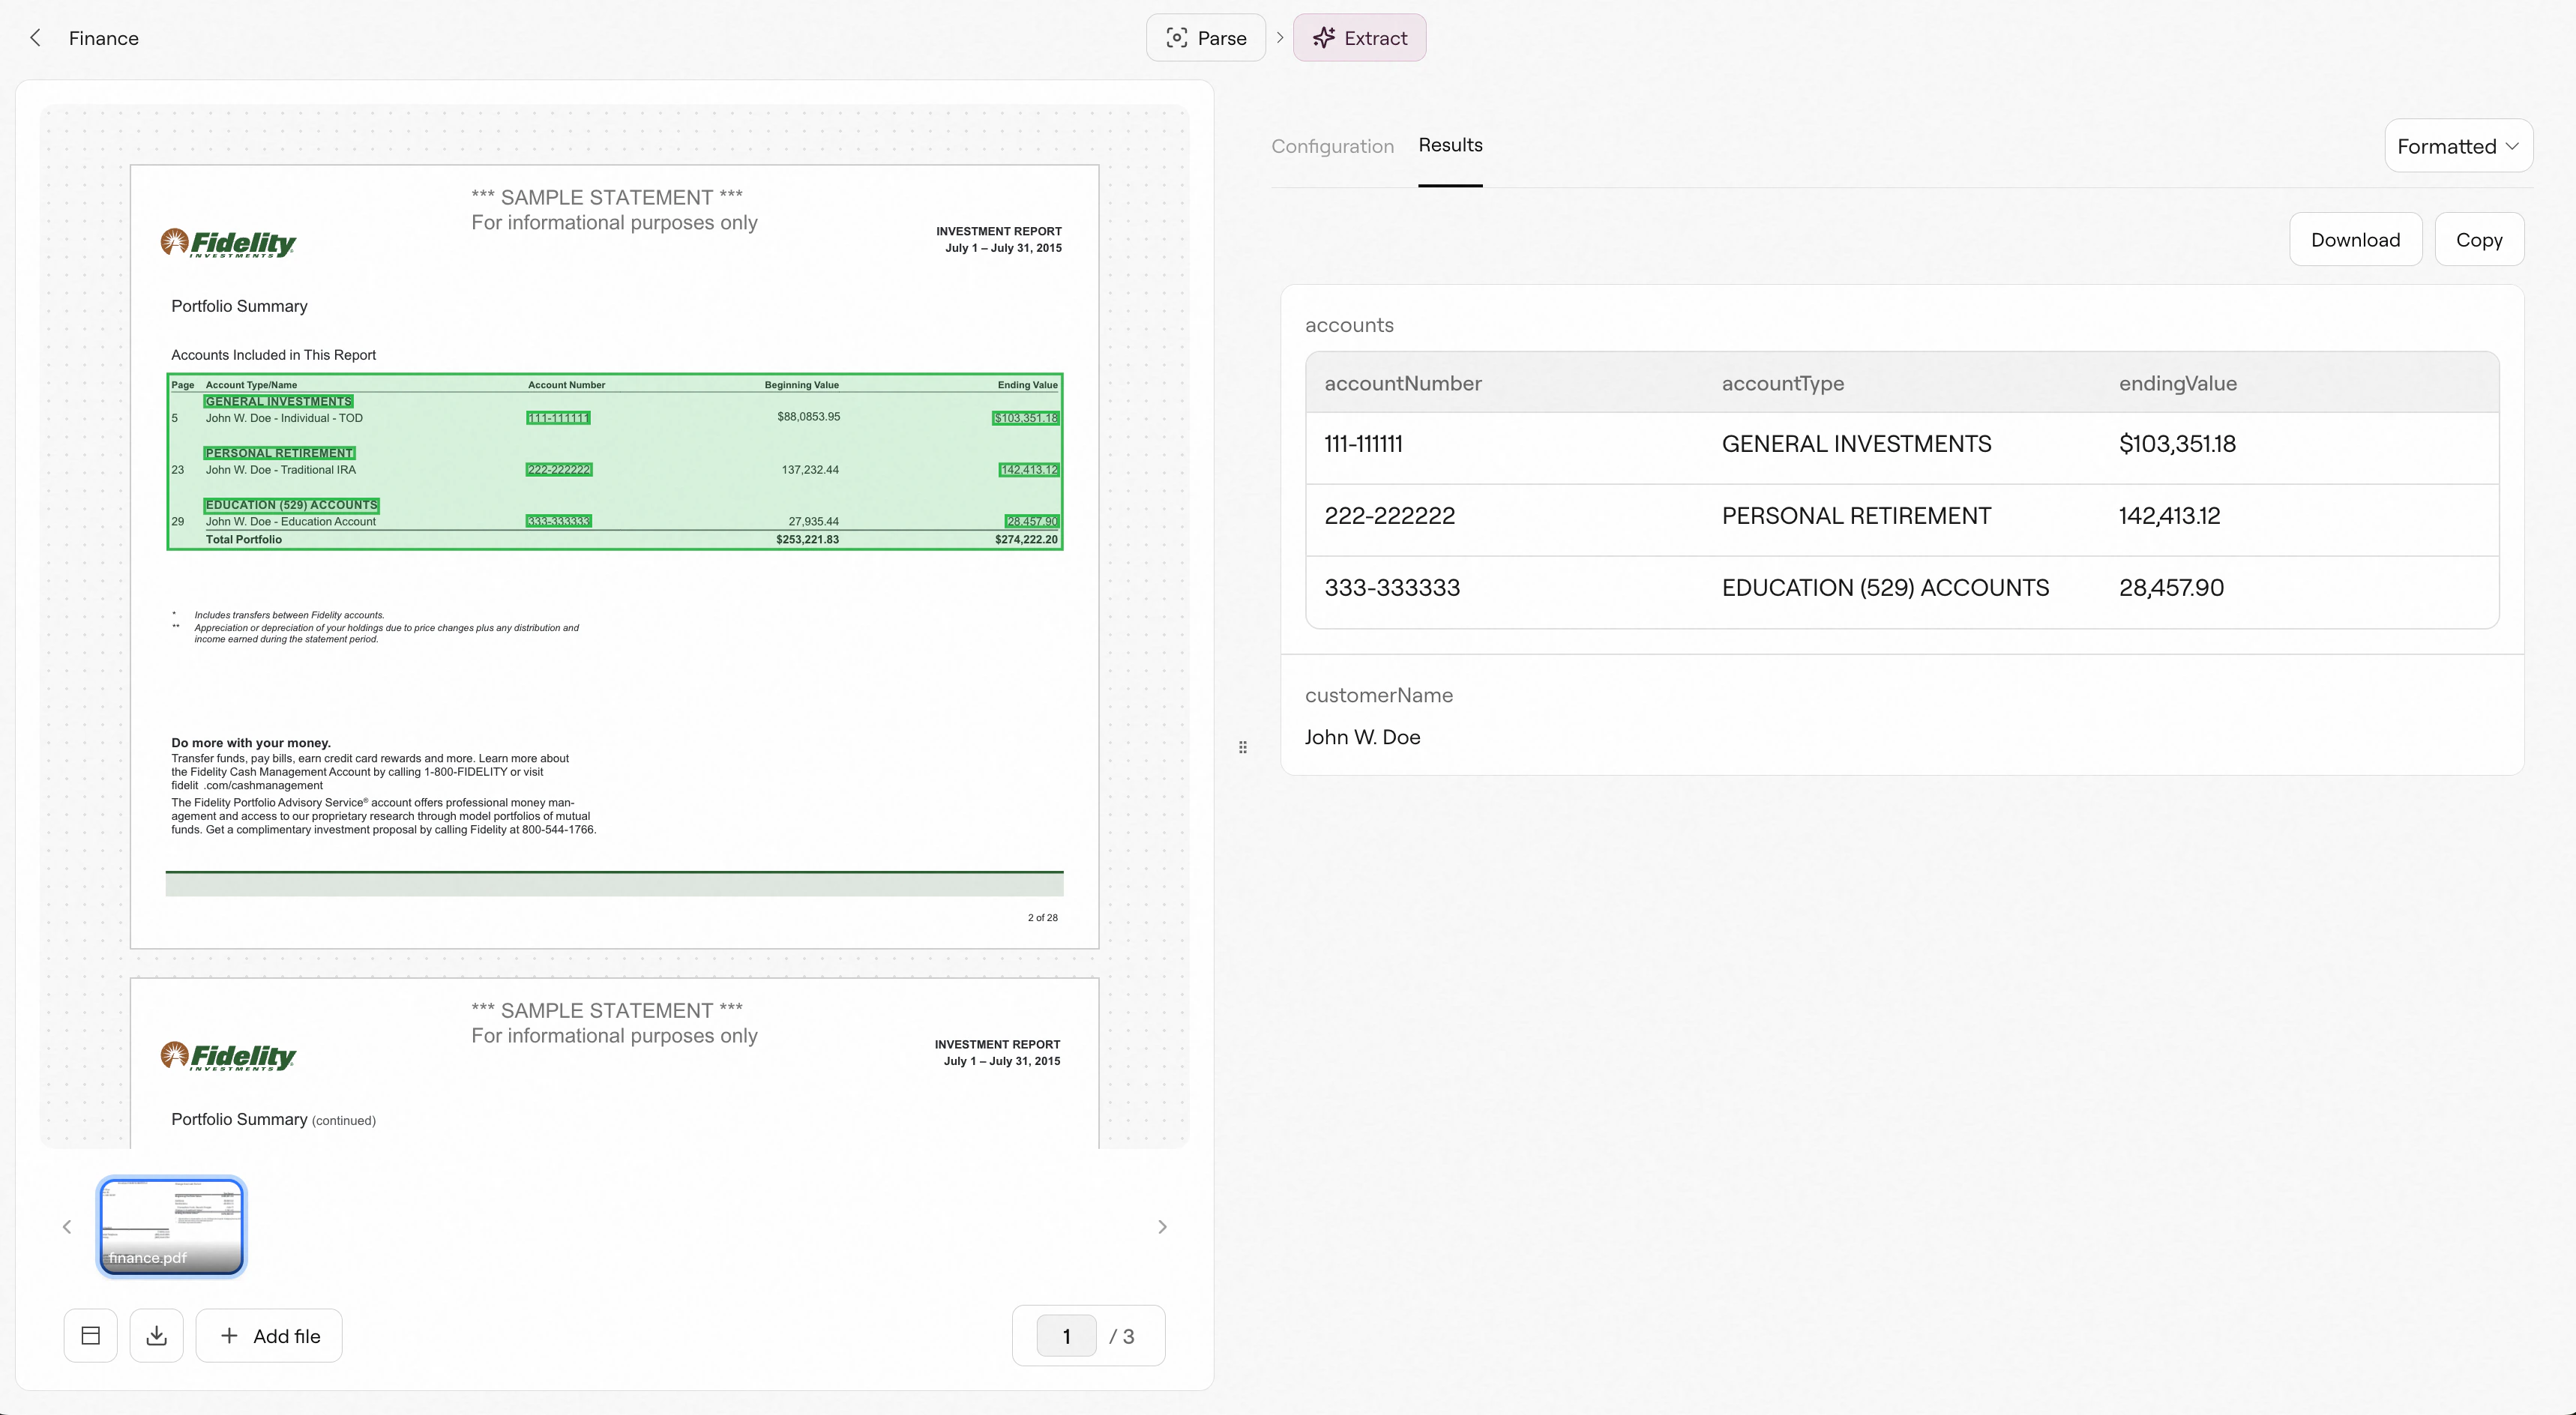 Review results and compare them to your original document. If you enable [citations](https://docs.reducto.ai/configs/extract/citations), bounding boxes will appear on the original document, linking them to where the data was extracted from.
While most customers find value from our default configurations, you may need to adjust yours depending on your documents, schema, and goals. See details [here](https://docs.reducto.ai/configs/overview) on our endpoint configurations.
## 3. Create an API Key
Once you're ready to move into production, go back to the homepage and hit **API Keys**. Here you'll be able to create, manage, and edit your account's API keys.
Review results and compare them to your original document. If you enable [citations](https://docs.reducto.ai/configs/extract/citations), bounding boxes will appear on the original document, linking them to where the data was extracted from.
While most customers find value from our default configurations, you may need to adjust yours depending on your documents, schema, and goals. See details [here](https://docs.reducto.ai/configs/overview) on our endpoint configurations.
## 3. Create an API Key
Once you're ready to move into production, go back to the homepage and hit **API Keys**. Here you'll be able to create, manage, and edit your account's API keys.
 Once you have an API key, deploying your new pipeline into production is easy. In any pipeline, hit **Deploy** to get a small code snippet, easily copyable into your workflow.
*Congrats, you've just created your first pipeline! 🎉*
***
## Next steps
Learn how to use Reducto's SDKs to call your pipelines in production.
Define JSON schemas to pull structured data from documents, with automatic field detection and confidence scoring.
Learn how to use Reducto's CLI to easily let agents use our endpoints.
Learn how to Deploy your pipeline with a Pipeline ID.
Once you have an API key, deploying your new pipeline into production is easy. In any pipeline, hit **Deploy** to get a small code snippet, easily copyable into your workflow.
*Congrats, you've just created your first pipeline! 🎉*
***
## Next steps
Learn how to use Reducto's SDKs to call your pipelines in production.
Define JSON schemas to pull structured data from documents, with automatic field detection and confidence scoring.
Learn how to use Reducto's CLI to easily let agents use our endpoints.
Learn how to Deploy your pipeline with a Pipeline ID.